Read my post about what inspired this "catch all" corner make-over!
Let's begin!
This was a fairly easy DIY project, especially if you do NOT need to cut your frame down to a smaller size.
If you read my post about this "catch all" corner make-over, then you already know that I wanted to cover the odd sized wall above the white shelf with a framed chalkboard.
So I measured the desired height and width of the wall, and began hunting for the perfect frame!
I knew that I wasn't going to find one with the exact dimensions that I needed, so I bought one that was slightly larger . . . and then my husband cut it down to size.
I learned on my hunt that OPEN FRAMES are expensive. Well, at least the ones that I fell in love with were expensive!! Argh.
BUT then I found THIS OPEN FRAME at Hobby Lobby for a fraction of the price; and the best part, it was 50% off when I found it.
SOLD! to the lady with the blonde hair!
Supplies . . .
Open Frame
Saw-tooth hangers
Finished BIRCH ply ~ cut to fit the inside of the frame
self-adhesive Chalkboard Paper
Craft Smart - Chalk Marker
Tools that you'll need . . .
Tape measure & pencil
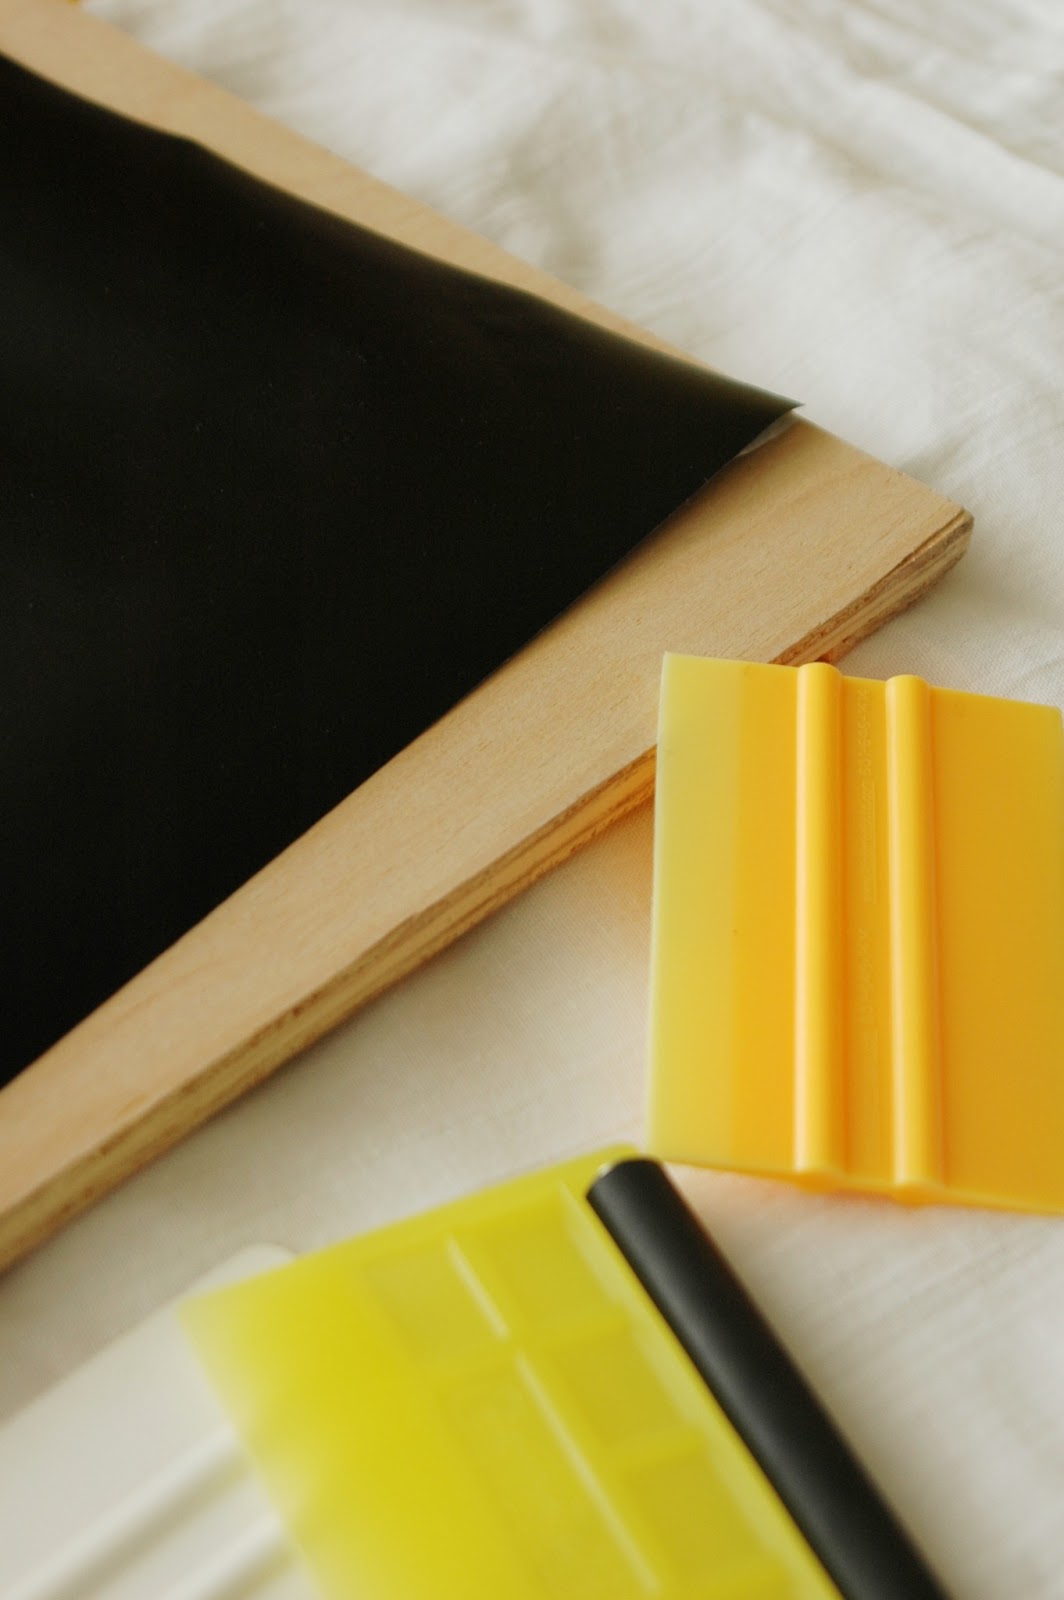
Window film, roller TOOLS
straight edge RAZOR blade
Staple gun & 1/4" staples
Hand sander and FINE sand paper
If you need to cut the OPEN FRAME down to a particular size, then you will need a
COMPOUND Miter Saw to do the job!
Step 1. Find OPEN FRAME
Step 2. Turn frame over and measure the inside, so that you know the size of the wood you will need to fill the frame.
Step 3. Visit your local hardware store and purchase a sheet of finished BIRCH ply, ask an associate to cut it to your desired dimensions.
Step 4. Sand the finished BIRCH ply so that it's SMOOTH!
Clean with a DAMP towel to remove ALL dust before applying the self-adhesive chalkboard paper. Let dry completely.
Step 5. Measure the desired length & width of self-adhesive chalkboard paper. Be sure and give yourself a little slack, in case you don't apply it perfectly straight onto the wood.
Step 6. Grab someone to help you adhere the self-adhesive chalkboard paper to the wood. Completely peel the backing off the paper, making sure that you and your friend are holding all the corners. Have Person #1 align the paper on one end of the wood. Person #2 will assist in guiding and lowering the contact paper as Person #1 smooths the self-adhesive chalkboard paper to the wood using the "window film" tools and roller to smooth out contact paper as you go. Go slow!
~ Measure contact paper to fit wood ~
~ Keep tools nearby ~
Step 7. Trim off excess contact paper using a straight edge razor blade.
Step 8. For an extremely SMOOTH surface, repeat steps 6 thru 8 on top of the first layer of self-adhesive chalkboard paper.
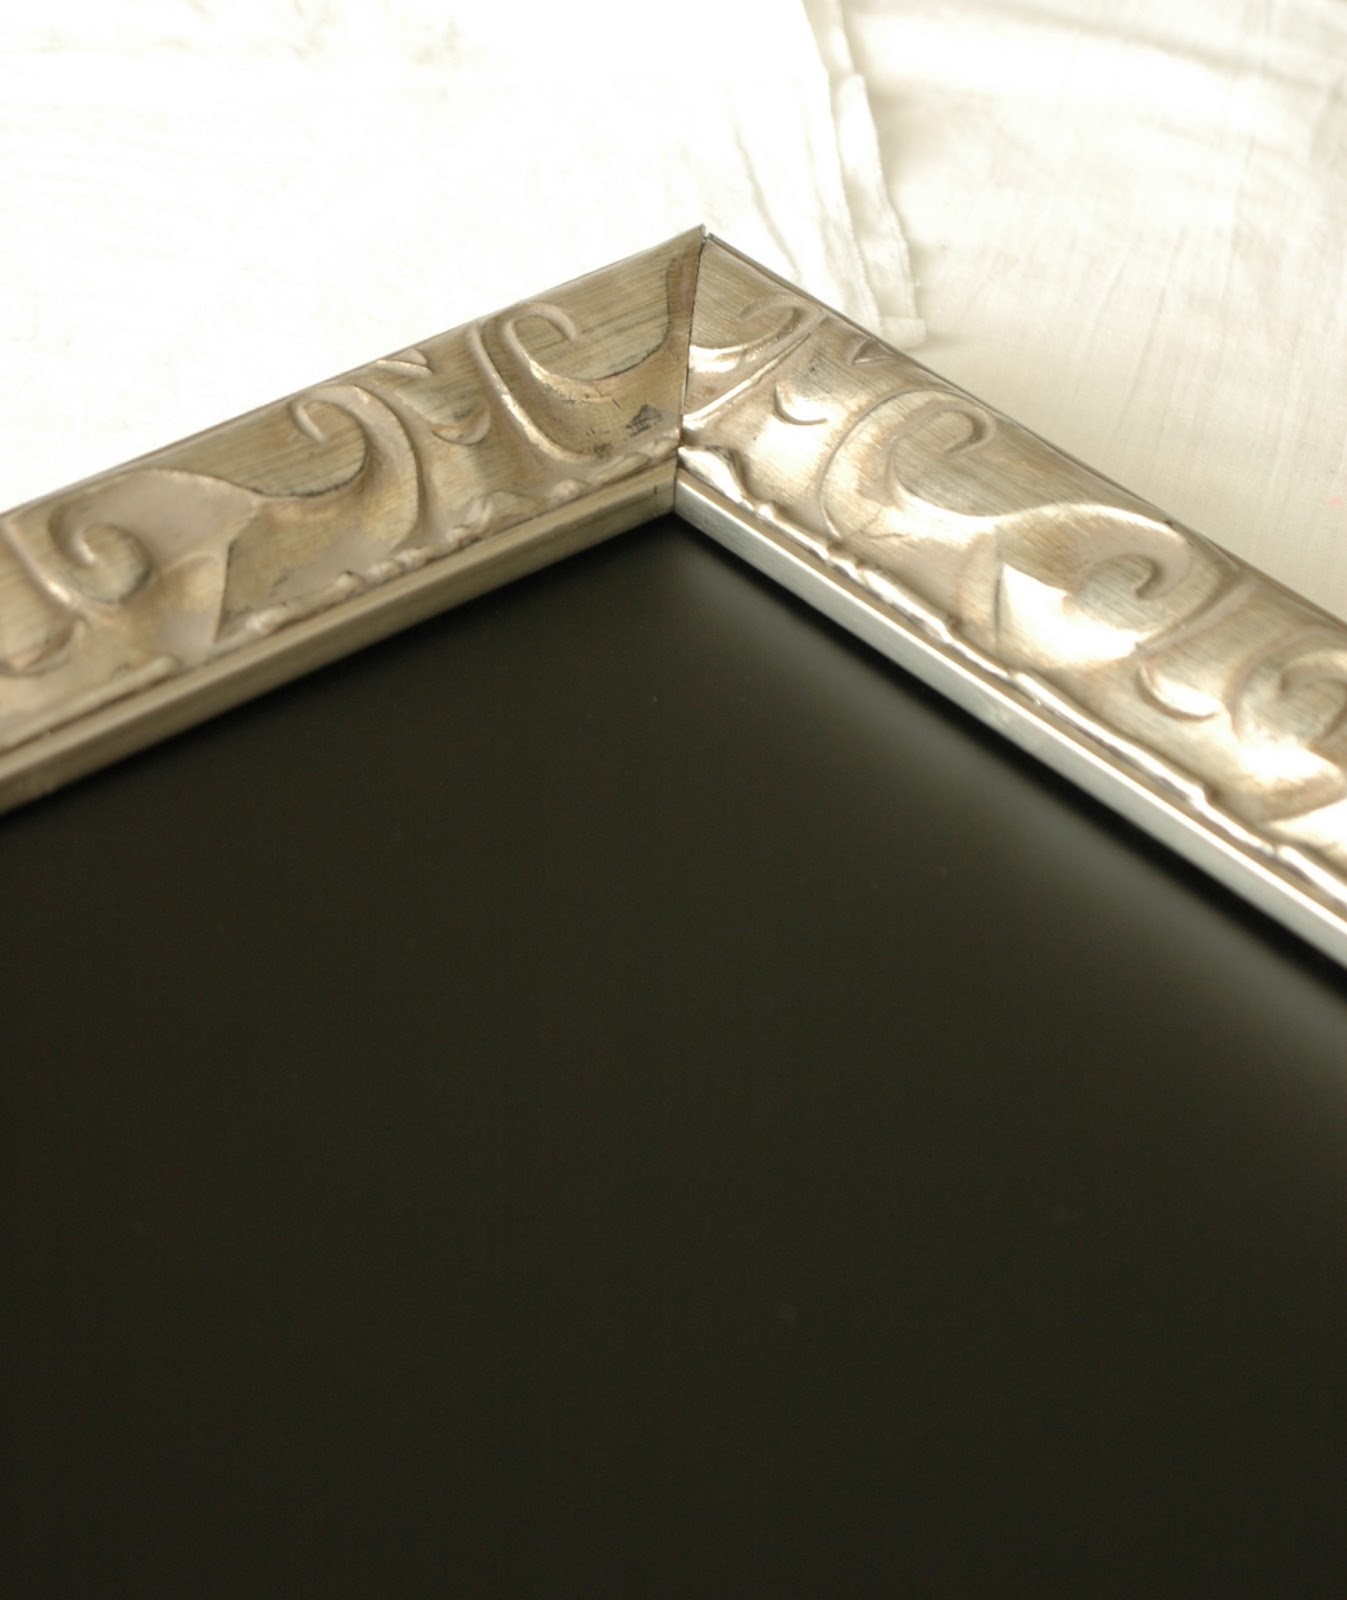
Step 9. Fit wood into OPEN FRAME. Secure into frame using a staple gun. I recommend 2 staples, evenly spaced several inches apart, per side.
~ rear view ~
~ front view ~
Step 10. Secure saw-tooth hangers onto rear of frame.
Follow directions on the package.
Hang and ADMIRE your handy-work!
I learned alot while working on this project, and perhaps the most important lesson I learned involved CHALK.
Yes, chalk!
First, do NOT use CHEAP chalk, like the ones that come in the
self-adhesive chalkboard paper kit. They will permanently scratch the paper, damaging it.
If you choose to use real chalk on your board, then buy CRAYOLA brand, and be sure and prime the paper first, if you want that authentic chalkboard affect.
I highly recommend avoiding traditional chalk altogether, and using a CHALK PEN instead. They're great! They're cleaner, and give you bright, crisp lines.
I even found pastel and bright colored chalk pens online.
I hope you're ready to give this DIY a go!
Open Frame from Hobby Lobby
Finished Birch ply from Home Depot
self-adhesive chalkboard paper from AMAZON.com
Craft Smart Chalk Marker from Michael's
Saw tooth hangers from Michael's